| 如何在 Matplotlib 中调整标记大小(附示例) | 您所在的位置:网站首页 › 设置 标记 › 如何在 Matplotlib 中调整标记大小(附示例) |
如何在 Matplotlib 中调整标记大小(附示例)
|
如何在 matplotlib 中调整标记大小(附示例)经过 本杰明·安德森博
7月 27, 2023
指导
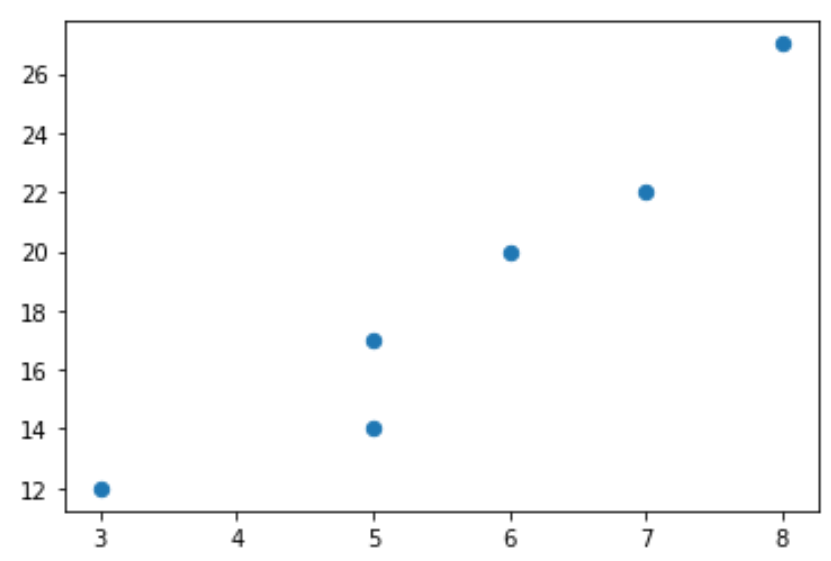
0 条评论 您可以使用s参数来调整 Matplotlib 中的点标记大小: plt. scatter (x, y, s= 40 )以下示例展示了如何在实践中使用此语法。 示例 1:为所有点设置单个标记大小以下代码演示了如何在 Matplotlib 中创建散点图并为图中的所有点设置单个标记大小: import matplotlib. pyplot as plt #define two arrays for plotting A = [3, 5, 5, 6, 7, 8] B = [12, 14, 17, 20, 22, 27] #create scatterplot, specifying marker size to be 40 plt. scatter (A, B, s= 40 )
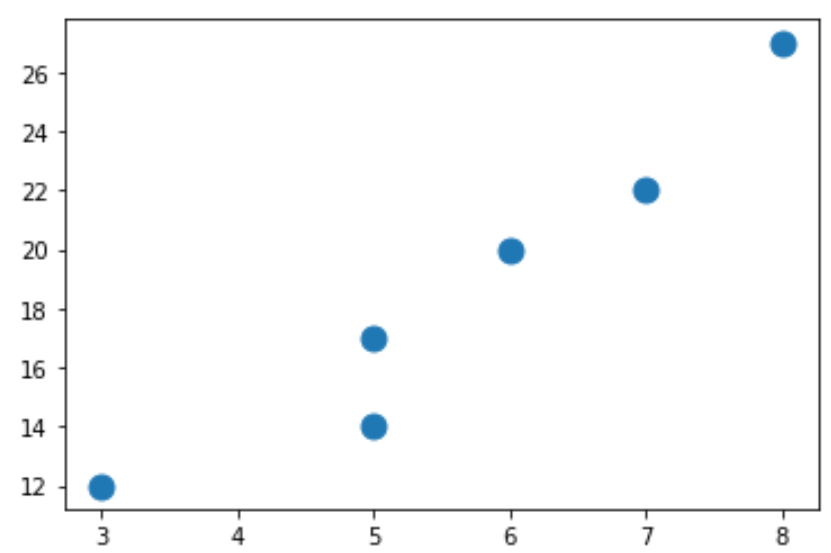
我们为s参数指定的数字越大,图中的点就越大: import matplotlib. pyplot as plt #define two arrays for plotting A = [3, 5, 5, 6, 7, 8] B = [12, 14, 17, 20, 22, 27] #create scatterplot, specifying marker size to be 120 plt. scatter (A, B, s= 120 )
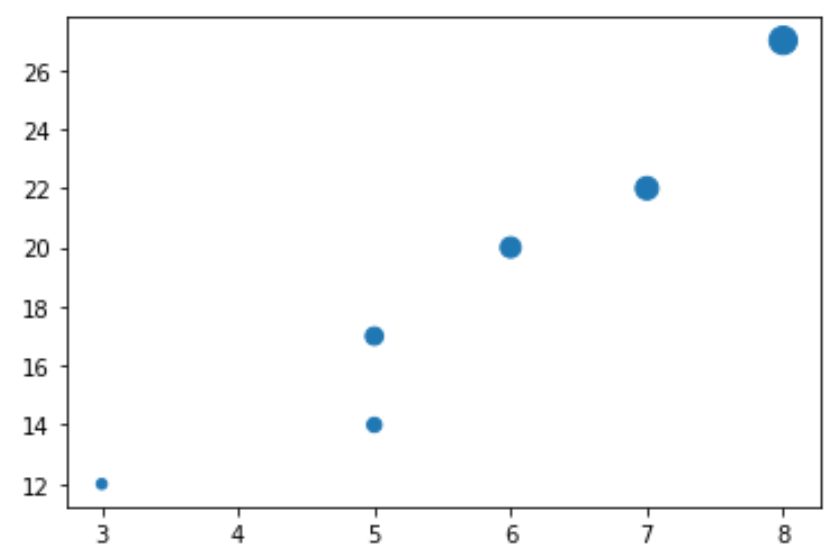
以下代码展示了如何在 Matplotlib 中创建散点图并为图中的每个点设置不同的标记大小: import matplotlib. pyplot as plt #define two arrays for plotting A = [3, 5, 5, 6, 7, 8] B = [12, 14, 17, 20, 22, 27] #define array of marker sizes to use sizes = [20, 40, 60, 80, 100, 150] #create scatterplot, using marker sizes specified in array plt. scatter (A, B, s= sizes )
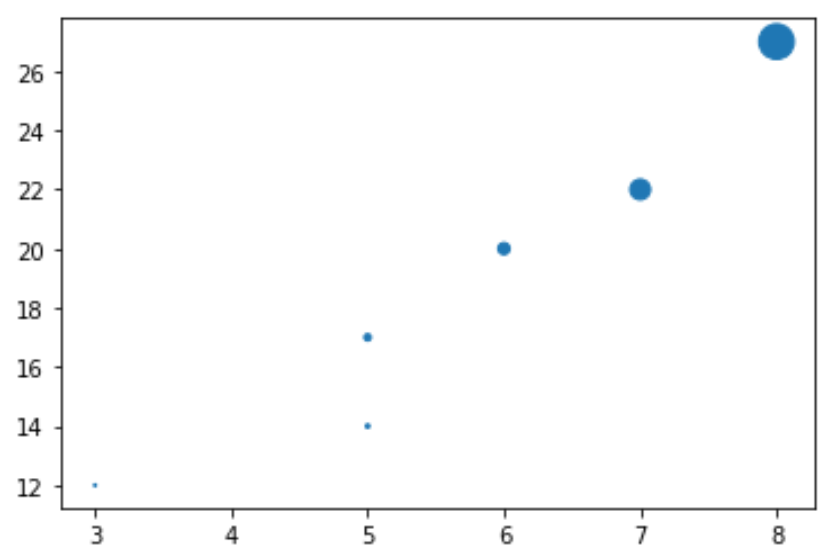
以下代码演示了如何在 Matplotlib 中创建散点图,并使用函数设置图中每个点使用的标记大小: import matplotlib. pyplot as plt #define two arrays for plotting A = [3, 5, 5, 6, 7, 8] B = [12, 14, 17, 20, 22, 27] #define array of marker sizes to use sizes = [3**n for n in range ( len (A))] #create scatterplot, using marker sizes specified in function plt. scatter (A, B, s= sizes )
您可以在此处找到有关调整标记大小的完整 Matplotlib 文档。 其他资源以下教程解释了如何在 Matplotlib 中执行其他常见操作: 如何注释 Matplotlib 散点图如何在 Matplotlib 中向散点图添加图例 关于作者 本杰明·安德森博 本杰明·安德森博大家好,我是本杰明,一位退休的统计学教授,后来成为 Statorials 的热心教师。 凭借在统计领域的丰富经验和专业知识,我渴望分享我的知识,通过 Statorials 增强学生的能力。了解更多 添加评论取消回复 |
【本文地址】
公司简介
联系我们